Move-In Condition Report Checklist: What Property Managers Should Document
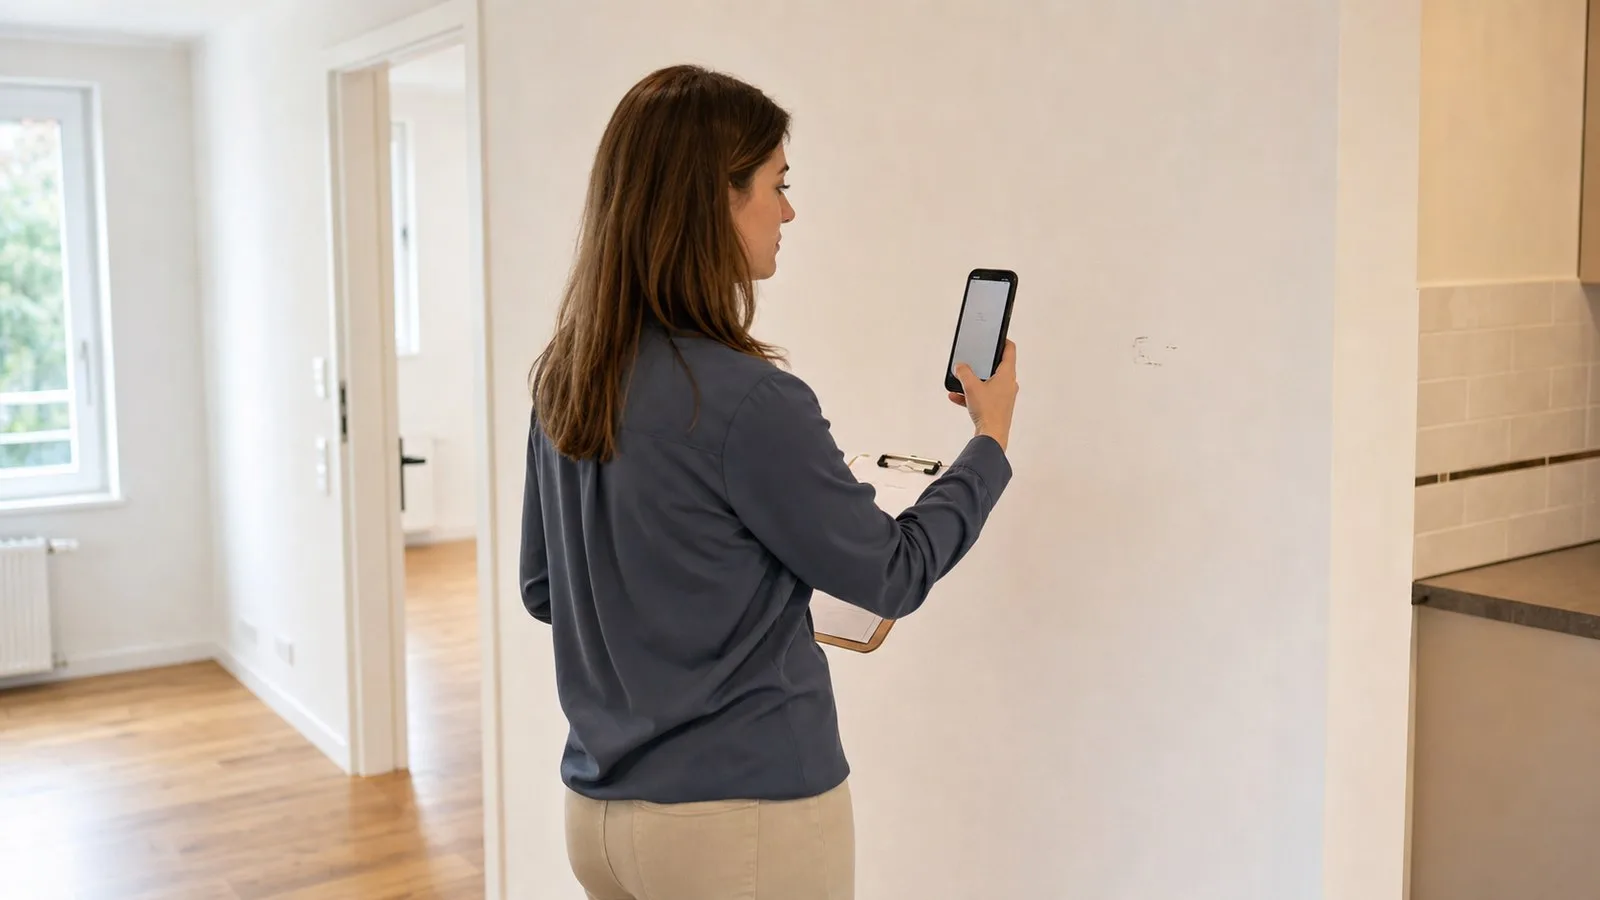
A move-in inspection is easy to rush. A move-in condition report checklist gives that busy moment a clear structure. The keys are ready, the resident is coordinating a move, and the property team is already thinking about the next task. Yet a few extra minutes of structured documentation can produce a clearer maintenance baseline, a more useful resident file, and fewer disagreements about what was visible when the tenancy began.
A strong move-in condition report checklist is not simply a page of boxes. It is a repeatable method for observing the home, tying notes to locations, creating an understandable photo record, and following up on anything that needs attention. The goal is a neutral record that another person can review months later without guessing what the inspector meant.
This guide provides a general operational framework. Lease, notice, disclosure, deposit, signature, and record-retention requirements vary, so property teams should have their forms and procedures reviewed for the jurisdictions where they operate. Teams should also apply the process consistently and review HUD’s Fair Housing Rights and Obligations as part of their broader compliance awareness.
Start with the purpose of the condition report
A move-in condition report checklist should answer three practical questions: What was the observable condition at move-in? Which items required repair, monitoring, or resident follow-up? Where is the supporting information stored? When the form serves those purposes, it becomes useful to maintenance, leasing, managers, owners, and the resident instead of sitting untouched in a file.
Keep the inspection separate from assumptions about cause or responsibility. An inspector can record a chipped tile, a water stain, or a missing screen. Determining why the condition exists, who is responsible, and what action is appropriate may require a work order, a specialist, lease review, or management approval. Neutral observations protect the quality of the record.
Prepare before anyone walks through the door
Begin with the correct property, unit, resident names, inspection date, and form version. Confirm that required pre-move work has been closed or clearly identified. If a vendor finished work recently, make sure that completion is not being treated as proof that the entire home is ready; the move-in review is a fresh quality-control point.
Before using the move-in condition report checklist, bring a device capable of clear photos, a way to note follow-up items, and any approved testing tools your process requires. Check that the device uses the correct date and that photos can be transferred to the approved property-management system. Personal photo libraries and untracked text threads are poor long-term records.
Set a consistent route through the home. Starting at the entry and moving through each room in the same direction reduces missed areas. For multifamily properties, decide whether the report covers only the unit or also assigned storage, parking, mail access, and other spaces delivered with the tenancy.
Use a room-by-room move-in condition report checklist
The exact form should match the property, but the following sections provide a practical starting structure. Record “not applicable” when an item does not exist rather than leaving unexplained blanks.
Entry, keys, and general condition
- Confirm the unit identifier and all keys, remotes, access cards, or other approved access devices being delivered.
- Record general cleanliness and any visible debris, odors, unfinished work, or stored materials.
- Check the entry door, visible frame, hardware, lock operation, weather stripping, and viewer when present.
- Note walls, ceilings, floors, trim, windows, coverings, installed lighting, and accessible outlets room by room.
A statement such as “bedroom wall damaged” is difficult to use later. “Primary bedroom, north wall, two-inch horizontal scrape approximately three feet above the baseboard” gives the reviewer a location and a recognizable condition. A photo can then show context and detail.
Kitchen and installed appliances
- Observe counters, cabinet faces, drawers, shelving, backsplash, flooring, walls, and ceiling.
- Record the visible condition of the sink, faucet, supply area, drain area, and nearby sealant.
- Identify installed appliances and note model or asset information when that is part of the property’s normal process.
- Use the approved procedure for basic operating checks and document any item that needs a qualified follow-up.
Do not turn a visual move-in inspection into an improvised technical diagnosis. If there is evidence of moisture, an unusual sound, or an uncertain appliance condition, describe it and create the appropriate next step. The report should not claim that concealed systems are problem-free simply because no visible issue appeared during the walkthrough.
Bathrooms and water-related areas
- Record the visible condition of fixtures, surfaces, mirrors, cabinets, accessories, flooring, and ventilation components.
- Look for visible staining, damaged sealant, loose components, active dripping, or signs that need further review.
- Note hot-water or drain observations only to the extent covered by the approved inspection procedure.
- Escalate active water, electrical, or other immediate safety concerns through the maintenance process instead of merely adding a note.
Water conditions deserve precise locations. “Staining at lower-left corner of vanity cabinet” is more useful than “possible leak.” If a resident reports prior moisture but none is visible, identify the statement as resident-reported and open any appropriate investigation.
Bedrooms, living areas, and storage
- Check each room’s visible surfaces using the same sequence so similar conditions receive similar attention.
- Open accessible closets and record shelves, rods, doors, floors, and visible wall or ceiling conditions.
- Distinguish ordinary variations in finish from specific chips, holes, stains, burns, broken parts, or missing items.
- Include patios, balconies, garages, assigned storage, or other delivered spaces when they fall within the approved scope.
Safety and building systems
Follow the organization’s approved procedures for installed alarms, heating and cooling controls, electrical components, and other safety-related items. A general checklist cannot replace manufacturer instructions, applicable codes, or work by qualified professionals. Record the procedure performed, the observable result, and any follow-up rather than using a vague statement such as “safety checked.”
Create a photo record that another person can navigate
The photo portion of a move-in condition report checklist should favor clarity over volume. A useful set has a predictable order and enough context to show where each condition is located. Consider taking an orientation image for each room, then closer images of specific exceptions. Keep the camera angle and lighting clear, and review important images before leaving.
Name or tag files according to the approved system. A sequence such as property, unit, date, room, and item is far easier to retrieve than a folder of default camera filenames. If the software attaches images directly to checklist items, confirm that the upload completed and that authorized team members can open it.
Focus on the rental property and relevant condition. Avoid unnecessary images of personal documents, people, or belongings. Follow approved privacy, access, and retention rules, especially when residents have already moved items into the home.
Turn observations into clear follow-up
A completed form is not the end of the process when it identifies work. Classify findings using the team’s existing priorities, create linked work orders, assign an owner, and record the next communication. Urgent conditions need immediate escalation through the approved channel; routine items need a realistic path to completion; monitored items need a review date.
Keep the original observation intact. Later notes can add the diagnosis, repair, vendor invoice, resident update, and completion evidence. Preserving that timeline makes the file more understandable than silently replacing the first note with the final outcome.
When an item will not be repaired immediately, the record should show that a decision was made, who approved it, what was communicated, and whether further review is required. “Deferred” should never mean “forgotten.”
Review the report with the resident
Provide the resident with the move-in condition report checklist and instructions required by the property’s approved process. Explain how to identify an omitted condition, where to send supporting information, and what timeframe applies under the lease, company procedure, and local requirements. Do not promise that every noted item will be repaired; acknowledging an observation and approving work are different actions.
If the resident adds information, preserve the submission date and the original report. Resolve unclear descriptions by asking for a location or photo when appropriate. Document disagreement neutrally. The file should show each person’s input without forcing an unsupported conclusion.
Store the file so it remains useful at move-out
Keep the completed move-in condition report checklist, attachments, resident submissions, linked work orders, completion records, and relevant communications in the approved system. Apply consistent naming, access, backup, and retention practices. Before closing the move-in task, verify that required fields are complete, photos open, follow-up work has an owner, and the resident copy was handled through the approved process.
A small quality-control sample can improve the system over time. Review whether inspectors use consistent locations, whether photos match notes, whether blank fields are explained, and whether findings become completed work. Update the form prospectively when the same gap appears repeatedly.
Common move-in documentation mistakes
Even a detailed move-in condition report checklist can fail when the record lacks context, ownership, or a reliable storage location. Watch for these recurring problems:
- Vague condition labels: “Good,” “bad,” and “worn” rarely provide enough location or detail for later review.
- Photos without context: A close-up may show damage but not identify the room or surface.
- Unchecked blanks: Empty fields can mean missed, normal, not applicable, or not accessible.
- Unsupported conclusions: Inspectors should record observations and route diagnosis or responsibility decisions appropriately.
- Unlinked repairs: A condition report should create action when action is needed, not become a substitute for a work order.
- Scattered storage: Important records should not live only on a phone, in a personal inbox, or in an unnamed folder.
Move-in documentation works best as one part of a consistent leasing process. For an earlier step in that process, see How to Effectively Screen Tenants: A Step-by-Step Guide.
Conclusion: consistency matters more than complexity
The best move-in condition report checklist is one the team can use the same way at every property. It identifies locations clearly, pairs exceptions with useful evidence, separates observation from conclusion, and connects open items to follow-up. That creates a better operational baseline without turning the walkthrough into an overengineered project.
Before the next move-in, compare your current form with this workflow. Add one missing quality-control step, confirm where the final record belongs, and make sure every repair note has an owner. For more practical systems that make property management work easier to run, subscribe to Property Professional Blog.